Getting Your Swamp Cooler Ready for Winter
Winterizing Your Evaporative Cooler
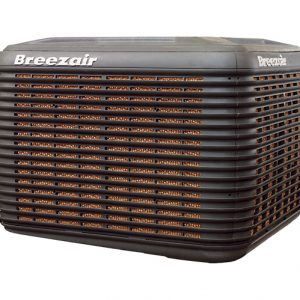
Winterizing your evaporative cooler is critical to make it last longer and be operative for the next hot season. It is crucial to protect your unit from the freezing temperatures to avoid mold and mildew growth, and rust and corrosion that may lead to broken water pipes and more severe problems. Here are the steps for winterizing your evaporative cooler.
Turn Water Supply Valve Off
Before you begin, turn the power off. Then, turn off the water supply valve by turning the handle clockwise. Leave the valve off until Spring comes. Next, dry out the hose that connects the air conditioner and the valve. You can eliminate the lingering water accumulated inside of the tube by blowing into one end. Put the hose in a dry, safe place.
 Drain the Device
Remove water inside of the cooler. There are two ways of draining water. You can open up the drain in the bottom of the machine with a wrench or a pair of pliers. Another way is by collecting the water using a small container. Finally, use rags or sponges to soak up the remaining water.
Clean the Swamp Cooler
Use white vinegar and a sponge to get rid off grime and dirt along the inside walls of the device. A shop vac will work best to clean out significant amounts of mineral and dirt in the cooler pan. Then, replace the disposable pads. Or, dry out reusable pads and remove impurities with a soft-bristle brush before covering your swamp cooler.
Protect the Cooler with a Cover
Protect your evaporative cooler with a cover to avoid the damaging effects of the elements during the winter months.
With the below steps, you will keep your evaporative cooler protected during the cold months and also ensure that it will last longer.
Should you need evaporative cooler repair or new a new one before that next hot season starts, contact Quinnair.


